If you browse the internet for tips on “mixing rap vocals,” you’ll encounter a whole boatload of contradicting advice. “Always boost this frequency, no, always boost this frequency”. As an engineer specializing in hip-hop and rap for over 15 years, I’ve honed the process to a near science, having worked with major and local artists alike.
Here are some key guidelines that I’ve learned over the years when it comes to mixing rap vocals:
1: Create Space in the Beat
The beat plays a crucial role in how rap vocals come together. Whether you’re dealing with tracked-out stems or a stereo file, ensuring space for vocals is essential. When working with stems, I prefer to mix the entire beat before adding vocals (although there is no one correct way to approach a mix). While doing so, I make sure to keep an open space where the vocals will predominantly occupy. Where the vocals sit will be a case by case basis, but generally speaking leaving room in the mids and highs will allow you greater freedom down the road. If you don’t leave room in these areas you’ll be chasing your tail trying to get the vocals to cut through the song, while sounding pleasing to the ear.
2: Apply Compression Strategically
Compressing rap vocals is an artform that involves finding the right balance of control without overdoing it. Oftentimes I’ll use multiple compressors that each serve a unique function. I may use a compressor with a quick attack to clamp down on peaky transients, or I may use a slower optical style compressor to let the transients through, but allow for a more consistent level. It also helps to pay attention to attack and release times to maintain clarity and transient definition. Too fast of an attack with a release that’s also too slow can create dullness.

First vocal compressor, slower attack, medium release, more gentle “opto style” compression.
I may also use a compressor not for its compression, but for its tonal characteristics like the Waves CLA-2A for warmth, or Waves CLA 1176 for aggression. Don’t be afraid to experiment with different combinations of compressors, they are here to use!
3: “De-Ess” to Eliminate Hisses
Effective de-essing is crucial for a smooth vocal sound. Don’t hesitate to de-ess aggressively, or use multiple instances of a De-sser. Eliminating sibilant frequencies allows for you to push the high end of the vocals more upfront without causing discomfort from harshness. De- Essers aren’t always for “esses either”. They can also be great for controlling lower upper mid registers. If you find your vocal is a bit too piercing in that 1-2Khz area, try a narrowband De-esser set to that frequency range, and set the threshold to only reduce those harsh passages.
4: Add Excitement with Saturation
Saturation can be a valuable tool, especially for dull-sounding vocals. Experiment with plugins like Digidesign Lo-Fi or Waves Puigchild 670 (or any stock clipper/saturator) to add grit, body, and top-end bite. You’ll find that if you apply saturation tastefully, you’ll be able to get the vocals to cut through the mix much easier. Another great tool for saturation is the Fab Filter Saturn plugin. Saturn is a multiband harmonic saturator, and allows you to add saturation to separate bands individually. Being able to add saturation can be very handy if you only want to add excitement to the upper frequency bands without muddying up the low bands.
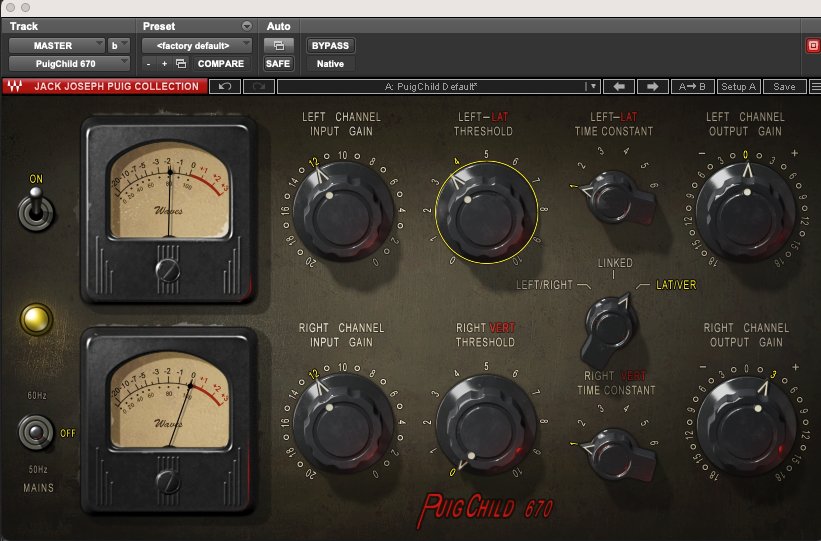
Using the Puigchild 670 to add harmonic excitement to the vocals.
5: Eliminate Unwanted Frequencies
Whether you choose to EQ before or after compression, focus on addressing frequency buildups. Does the vocal need a wide scoop in the upper mids, or does indeed a narrow notch on an offending frequency. Every vocal will be different, so as the old saying goes, use your ears! You’ll find that once you reduce certain resonances that you’ll be able to push the vocal more aggressively in the mix without them sounding harsh or annoying.

Reducing small resonances in the vocal with a narrow Q.
Instead of doing a static cut, like in the example above, you can also experiment with dynamic EQ. The benefit of dynamic EQ is that it allows you to only tame areas when they are too much-vs throughout the whole performance. An example of when this can be helpful is when a vocalist gets too close to the mic for a couple lines, you can set the dynamic EQ to reduce some lows only when it passes a certain threshold. This will reduce the lows on those few lines, while leaving the rest of the performance intact. I like this approach because it keeps the vocals sounding natural, as we all know how easy it can be to overprocess vocals.
Follow these guidelines and you’ll be on your way to radio ready rap vocals!
About PIVODIO™ Coach Dan Zorn
Starting as a House Music producer under the alias “Dan Ryan”, Dan Zorn quickly found his way into the Chicago Club scene. After graduating from Columbia College in 2012, Dan began engineering at Studio 11, a legendary recording studio in downtown Chicago. Having worked with major label artists signed to Universal, Warner, Atlantic, and Def Jam and being an Award-Winning Content Creator for 𝗪𝗮𝘃𝗲𝘀 𝗔𝘂𝗱𝗶𝗼 𝗮𝗻𝗱 𝗥𝗲𝘃𝗲𝗿𝗯.𝗰𝗼𝗺, it’s safe to say this is one dude who lives and breathes music. Since his time in Chicago began, Dan has grown a reputation for his unique engineering style- merging his musical production chops into every mix he works on. The result is always an end product that resonates with a high level of musical understanding and a keen sense of technical mastery – creating mixes that excite all who listen.


Leave a comment