In the pursuit of a great mix, the quality of vocals often distinguishes seasoned mixers from novices. You may notice when listening to a professional mix that the vocals cut through the mix, but also sound smooth. This can be a real challenge. Sometimes in the pursuit of making the vocal heard they become too harsh and dominate the mix. On the contrary, sometimes while making a vocal sound smooth, they end up sounding too dull. Here’s how to navigate this conundrum:
The Psychoacoustics of High Frequencies
Human hearing spans approximately 20Hz to 20kHz, with a peak sensitivity between 3.5-4kHz. This sensitivity stems from the ear canal’s length aligning with the lengths of these frequency’s waveforms. What this means for you as the mixer is that any change made in this region is heard very easily, so utmost caution must be taken when working in this area.
Arrangement
Before delivering into specific areas of the high frequency spectrum, it’s important to listen to the arrangement, and the song to determine how much high end you need. Every song will be different, but here are some things to consider :
What other instruments are already occupying the high frequency range?
Are they more important than the vocals? (ie, can they be lowered to make room for the vocal?)
Another great question to ask yourself is, where is the vocal supposed to sit within the 3D space front to back? In other words, are they drenched in a reverb way in the background, or are they dry and upfront? Thinking about the depth of the vocalist in the context of the mix can help determine how much high end or “presence” they should have in the track. As physics dictates, as we get further from a source, we hear less high end- but as we get closer we hear more. So think about the vocal in terms of the song and arrangement but also where they should sit in a 3D plane and that should give you an idea about how much high end or “presence” they should have.
Navigating Different High-End Areas
1. Intensity:
- Range: 1.5kHz to 3kHz.
- Description: Piercing, powerful, or annoying.
- Balancing Act: Boost for vocals to cut through, or reduce for a less piercing sound.
2. Harshness:
- Range: 3kHz to 5kHz.
- Description: Shrill or cold.
- Balancing Act: Boost for clarity, reduce for a smoother vocal.
3. Sibilance:
- Range: 4kHz to 10kHz.
- Description: Consonants sounding sharp.
- Balancing Act: EQ, De-essing or manual volume adjustments.
4. Air:
- Range: 8kHz to 9kHz and up.
- Description: Sheen or presence.
- Balancing Act: Adds closeness and clarity to the vocalist.

Reducing harshness, sibilance and boosting the “air” band.
Multiband Compression
Sometimes you’ll find that doing static boosts or cuts in the above frequency ranges isn’t enough to treat the vocal. Or you may find that an EQ move sounds good on certain phrases, but not on others. This is where multiband compression comes in! You can set a multiband to only react when a preset frequency range passes a set threshold.
Vocal recordings often exhibit varying dynamics, with certain phrases or words standing out more than others. Multiband compression enables you to tame these fluctuations selectively. By compressing specific frequency bands, you maintain a consistent vocal presence throughout the mix without sacrificing the natural dynamics of the performance.Every vocalist has a unique tonal quality, and multiband compression allows you to accentuate or refine these characteristics specific to the performance. In a nutshell, the benefit of multiband compression is that it allows for a more natural vocal sound due to its reactive response.
Other Things to Consider
Once you’ve tamed your high frequency ranges, sometimes the recording may sound a little dull. If you need more excitement but are happy with the EQ balance, consider adding saturation. While any stock saturator can get you there, I love to use the Fabfilter Saturn to saturate and excite certain frequency bands. I find that leaving the low frequencies alone and saturating the high bands gives me a more aggressive and up front vocal that I couldn’t achieve with just EQ alone. Another great tool to add harmonics on vocals is the Waves Audio Puigchild 670. Sometimes just running the vocals through the plugin with a little bit of compression (or with no compression at all), can bring the vocal forward in a mix.
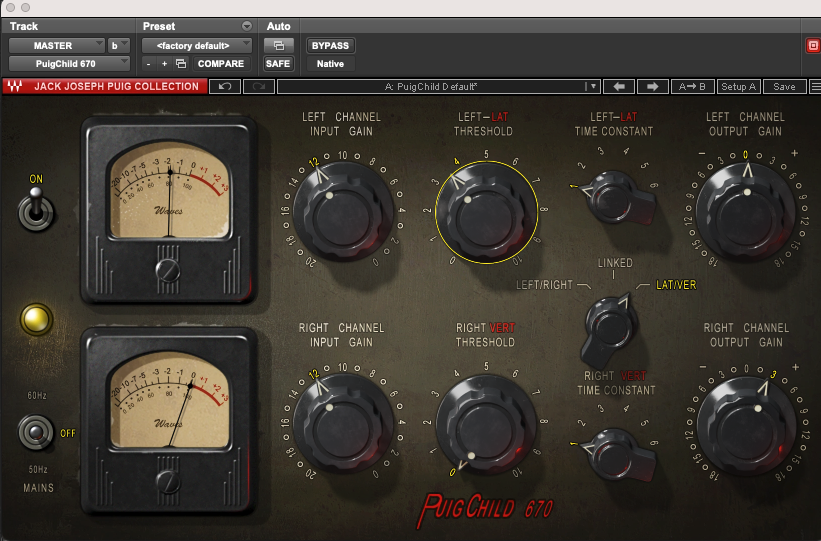
Waves Audio Puigchild 670
Process of Elimination
Mastering the high end involves critical thinking and relying on your ears. Ask key questions:
- Where should the vocalist sit in a 3D space?
- Is there an overall excess of high end or just in a narrow area?
- Are the vocals too prominent across the entire performance or in specific regions?
- Can one tool address all issues, or is a multifaceted approach necessary?
Training your ears takes time, but asking the right questions refines your decisions. Keep at it and your vocals will sound clear and butter smooth in no time!
About PIVODIO™ Coach Dan Zorn
Starting as a House Music producer under the alias “Dan Ryan”, Dan Zorn quickly found his way into the Chicago Club scene. After graduating from Columbia College in 2012, Dan began engineering at Studio 11, a legendary recording studio in downtown Chicago. Having worked with major label artists signed to Universal, Warner, Atlantic, and Def Jam and being an Award-Winning Content Creator for 𝗪𝗮𝘃𝗲𝘀 𝗔𝘂𝗱𝗶𝗼 𝗮𝗻𝗱 𝗥𝗲𝘃𝗲𝗿𝗯.𝗰𝗼𝗺, it’s safe to say this is one dude who lives and breathes music. Since his time in Chicago began, Dan has grown a reputation for his unique engineering style- merging his musical production chops into every mix he works on. The result is always an end product that resonates with a high level of musical understanding and a keen sense of technical mastery – creating mixes that excite all who listen.


Leave a comment