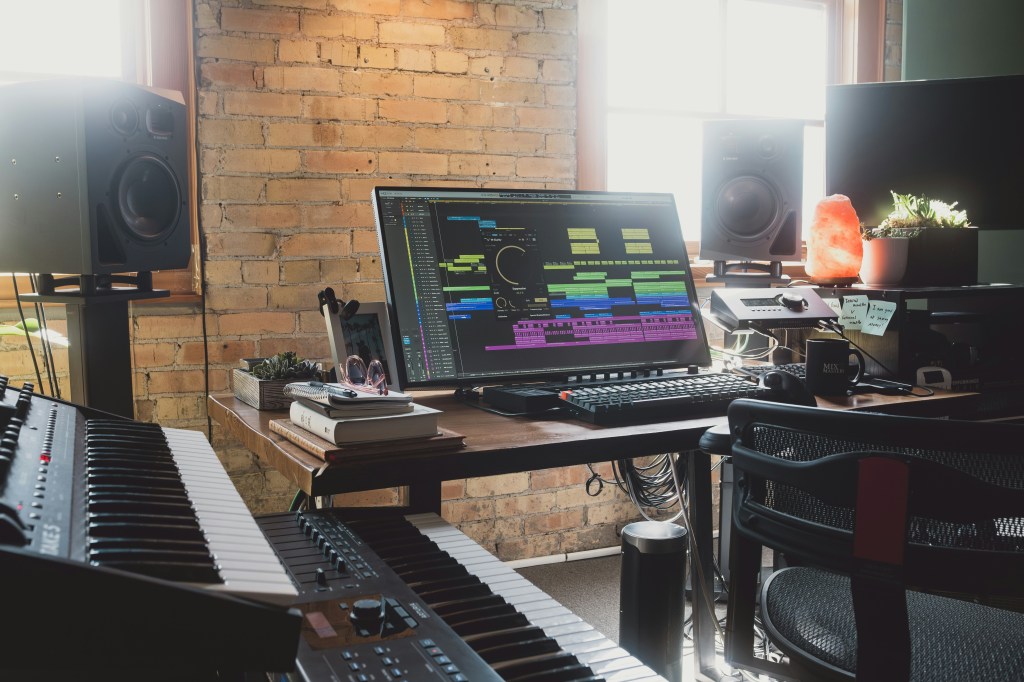
Mixing for creative types can be a daunting task to say the least. During my time as a student at the Conservatory Of Recording Arts & Sciences, I personally found that I was in a perpetual state of overwhelm at the level of complexity I felt I was facing (and making for myself) when attempting to mix music at the time.
During that period in my life, I was super green to the world of audio so I was juggling everything from trying to understand the mysteries surrounding EQ and compression to avoiding the pitfalls of things like phasing, masking, comb filtering, and clipping.
More often than not though, I felt like I was just spinning my wheels, running around in circles and not making any real progress. I just wanted a simple system to make my music sound as good and professional in the least complex way possible.
The following article is a collection of lessons learned (some by mentors and some by trial and error) that I wish I picked up before attending school. May these aid you in your quest to mix great sounding music.
Step 1 – Creating a Vision for Your Mix

This is hands down the single most important decision that needs to be made before you touch a fader. Having a clear idea of how you want your song to sound prior to sitting down to mix will help you to determine three key elements for your song’s overall sonic presentation.
- Balance (The volume of all the tracks in your session)
- Tone (Specifically where these tracks best sit in the frequency spectrum of your song)
- Space (Which instruments are going to be upfront vs which will be more in the background)
Ask Yourself
Is there a mix from an artist you admire that you would love to emulate (or draw inspiration from?) write it down and keep that in mind for later.
Alright so assuming that you’ve got a clear idea of what you want your song to sound like once mixed, let’s get into how to prep your mix so that complexity is brought down to a minimum. Let’s take care of the technical stuff now so we can focus on being creative without distraction.
Step 2 – Organize Your Tracks

The very first thing you want to do when starting a new session and pulling all of the tracks into your D.A.W is to organize your tracks visually before we begin to mix. This little extra bit of prep work will make things faster and easer when it comes time to jump back and forth between working on different tracks.
Labelling your tracks
Hopefully you are working with tracks that have been properly labeled beforehand so that you can avoid the dreaded pitfall of having to search through a folder filled with tracks labelled “audio.001” “audio.002” “audio.003” just to find that snare bottom file that was missing from the session. If the tracks are not properly labelled at this point, do yourself a solid and take this time to make sure each respective instrument is named and easily identifiable.
The following is the typical order of tracks I personally like to have lined up visually from left to right in the mix window inside my D.A.W.
- Kick
- Snare Top
- Snare Bottom
- Hi Hat
- Toms
- Drum Overheads
- Drum Room
- Bass
- Rhythm Guitar
- Lead Guitar
- Keys
- Misc (Effects, Percussion, etc)
- Vocals
Once all the tracks are lined up, I recommend color coding them if you have the ability to do so. It just makes things that much more streamlined and efficient for your workflow.
At this point, I create a master fader for the whole mix.
Starting out, all the tracks are panned at 0 and all faders are zeroed out.
From here, let’s just listen to the song as a whole. Turn the master fader down to listen comfortably and get a sense of the vibe.
Step 3 – Gain Staging

Before we work on getting a balance of all the tracks as far as volume and panning goes, let’s make sure that nothing’s clipping on each of individual tracks.
You can do this with gain plugins or use the gain feature if you have pro tools. Go through each track systematically and make sure nothing is peaking above 75% up the meter. Ideally, you want your tracks peaking at somewhere between the 50-75% mark.
Conversely, if you notice a track that is peaking below the 50% mark on the volume meter as you play the tracks back, use the aforementioned gain plugin to boost the volume accordingly.
Once all of the levels of each individual track are adjusted and are peaking around the 50 – 75% range on their respective meters, have a quick listen.
Step 4 – Balance Your Tracks by Creating a Static Mix

We’re now at the point where we’re able to create what’s known as a static mix. What this means is we are going to listen back to the song repeatedly, make notes and then play around with just two elements. Namely, volume and panning. No plugins yet! That comes later.
Balancing Volume
Let’s kick things off by pulling down volumes at the FADER level.
What I suggest is to start by finding the section of the song where the most is happening from an arrangement perspective. (I.e. the point in the song with the most instruments playing at once.)
Once you find it, loop playback on that section and then pull all of the faders of each track down so that nothing is heard.
From there, start pulling up the song’s most important elements. A great way to think about this is to mix as if you’re mixing a live show. No plugins at your disposal, all you’ve got is volume and panning. Literally ask yourself “What would I do if all I had was these two things?”
Balancing the sonic image with LCR Panning
LCR panning stands for “left, center, right” and is the most no-nonsense way to go about your panning choices. With mixing, it’s all about minimizing complexity and hours can be spent playing around with finite panning adjustments that can take you away from the bigger picture. I say keep it simple and create a nice stereo image in your mix by implementing LCR panning.
Here’s an example of how I would pan instruments in a typical rock mix.
MONO: Bass, vocals, kick drum, snare drum: All right up the center. (C)
STEREO: Rhythm guitars, drum overheads, would be hard LEFT and hard RIGHT (L & R) meaning to turn the pan pot as far to the left or right as possible.
Step 5 – Which Instrument Do I Mix First?

The only track that you mix first will be in solo.The rest are going to be added on top of it. As the mixer, you’ll need to decide which track is the most important one to start with.
For me, the drums are priority number one. They are the most complex instrument sonically. It’s got low, mid, and high end and has separate instruments all happening at once. Not only that but it’s the foundation of the song and mix as a whole. I like to think of it like the foundation of a house. If the foundations are strong, the structure you build upon it will be solid.
So once I’ve got my drums sounding good, I will then start bringing additional instruments in starting with the bass. Once I have the bass playing nice with the drums, I will then bring in the guitars, then keys, then any kind of miscellaneous instrument, (loops, percussion, strings, etc.) Finally, I bring the vocals in last.
This order makes sense to me because every instrument has got their own degree of sonic complexity. Vocals and bass are arguably the easiest to mix because both they and other instruments like them are not incredibly complex sonically compared to drums.
Here’s the list of the order of instruments I mix just to recap.
Drums
- Kick In
- Kick Out
- Snare Top
- Toms
- Hi Hat
- Drum Overheads
- Drum Room Mic
Bass
Guitars
Keys
Misc. (loops, percussion, strings, etc.)
Vocals
Important! – Spend no longer than 30 minutes on your static mix
The idea with this is to trust your ear and try not to overthink the process too much. Spend 20 to 30 minutes to get as good of static mix going as you can but don’t worry about perfection here. Remember, you’ve only got control of volume and panning right now so if certain tracks sound louder/quieter throughout as you play the song back, make some notes. Things can be adjusted later with compression.
Singer/Songwriter Mixing Case Study
Included are notes from a case study where a student and I were working on building a mix for her song in what I consider to be more of a Singer Songwriter based genre.
Here are the instruments provided: Acoustic Guitar, Piano, Jazz Drums, Strings, Vocals.
Mix Suggestions
In an acoustic based song, try starting with drums, Keys, and vocals to begin your static mix and begin to fill in the gaps from there.
- Drums – Build solid static mix
- Add keys
- Add vocals
- Add vocal harmonies
- Add guitar fills
- Strings
Once you’ve got something, go back to the beginning of the song to see if things are working. Remember, we’ve been building our static mix from the biggest part of the song up to this point so It’s important to check to see how it affects everything.
Feel it out with panning. The core instruments are going to be best balanced using LCR panning. (LEFT, CENTER, RIGHT)
Examples of this would be for the bass, vocals, kick drum, snare drum are all right up the Center.
Rhythm guitars, OH’s, would be hard LEFT and RIGHT
From there, experiment with more intricate pan levels for the “fill in” instruments.
In Conclusion
This article is a meal and a half if you’re just starting out with music production so I think this is the perfect place to leave off. If you have any questions or would like some guidance on where to go next, be sure to drop me a line here at the following link.
https://pivodio.com/profiles/@AaronCloutier
Thanks for reading!
About PIVODIO™ Coach Aaron Cloutier
Aaron Cloutier is a songwriter, producer, and music educator with over 15 years of experience in the music industry. As a graduate of the Conservatory of Recording Arts and Sciences, Aaron has incorporated his education in audio engineering into his songwriting and production experience, allowing him to work with artists ranging from Ill Nino to the late Sir Christopher Lee. Aaron’s ability to write, record, and produce has also allowed the opportunity to compose music for audio-based companies ranging from Korora Audio, Redwirez, and Ugritone. He lives for the creative process and is eager to share his experience with a new crop of musicians.


Leave a comment